An example of this is that I sometimes play an old Otto Link Super Tone Master. That mouthpiece is one of my tighter shanks and needs to go on quite far in order to tune. Then if I switch to something like an old large chamber ebonite, which tend to be shorter and not need to go on the neck as far, it can be really loose on the cork. The neck cork stays resilient enough to go through this for several months, but then I'll notice something isn't right. Maybe a drop of condensation will leak out or I get a wobbly mouthpiece, or even worse, wobbly low notes that indicates a tiny leak.
The other way that neck corks seem to wear out is the contact cement letting loose. Contact cement is not completely waterproof, in my experience. It might say waterproof on the label, but constant exposure to warm condensation is different than a momentary contact with water. I've found that the cement tends to let loose at the front of the cork and it's only a matter of time before a little piece will fall of. By only a matter of time, I'm talking maybe a year of daily playing. Still, there might be a method of sealing a mouthpiece that is closer to permanent. And if not permanent, maybe a sealing system that is quicker and easier to fix than re-corking a neck.
The system I'm going to try uses silicon o-rings. These are available in many sizes, and choosing the right size might be the most difficult part of the project. I used a caliper to measure the outside diameter of the cork on the neck of my Martin Handcraft. Then, I eyeballed the thickness of the cork. In other words, I ended up sort of guessing what size o-ring to buy. I actually decided to buy two different sizes. And I didn't just buy two o-rings (as you will see in the following pictures).
The cork on the neck of my 1939 Martin was replaced when I rebuilt it a couple years ago. It is my backup horn and gets played less than once a week. I also play it with fewer mouthpieces. In fact, I tend to always use the original Martin Handcraft mouthpiece after refacing it to a Link 6. Here is a picture of the neck cork, along with some of the tools and materials that I will use.

I put masking tape on the neck because I sanded the cork down a little. The cork had compressed so that I could see where I normally tuned the Martin Handcraft mouthpiece. Past that area, the cork was not compressed and I would have a difficult time pushing that mouthpiece, or any other mouthpiece, past the "broken in" area. But the idea with this project was to create a neck gasket system that would work with a variety of mouthpieces.
I decided to put my gasket in about 2 cm from the end. I made a line and cut a groove in the cork about 1.5 mm wide (the o-rings are 1/16th inch wide). I'll probably have to switch back and forth between measurements in inches and millimeters.


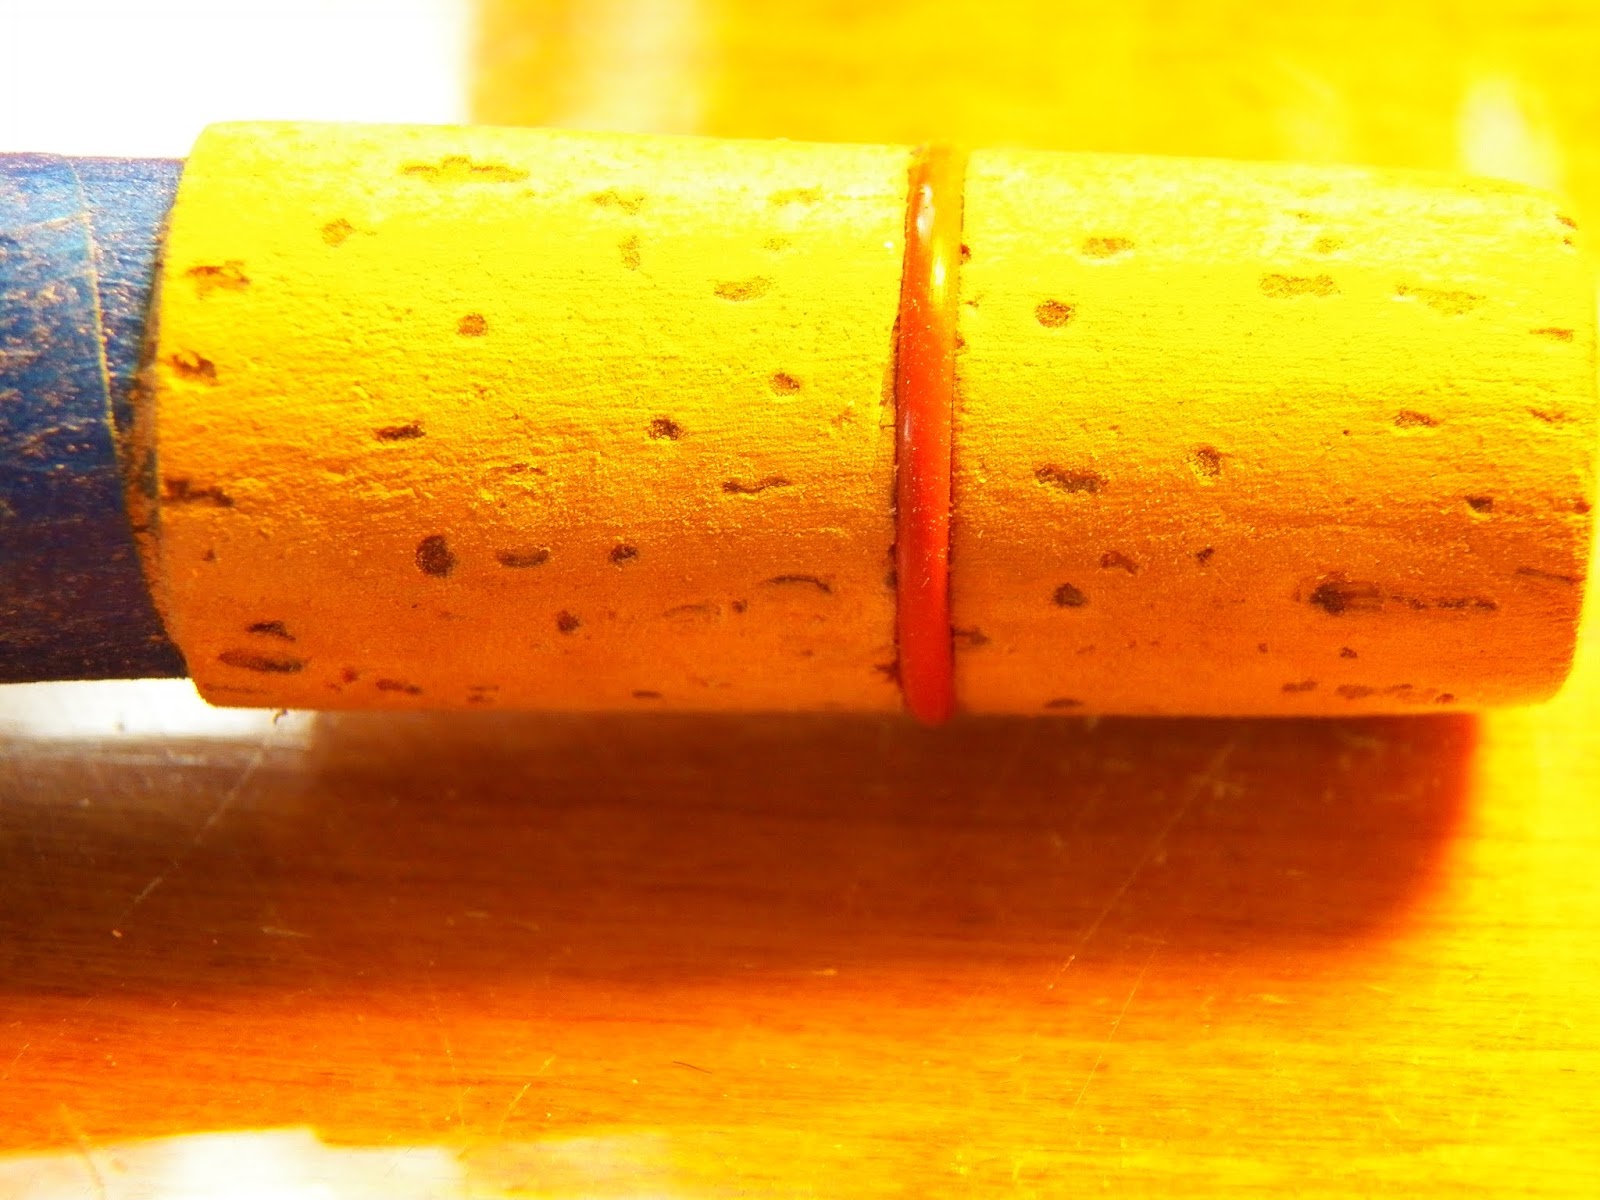
I put on some Dr. Slick cork lubricant and the fit seemed perfect. I could feel the shank slide over the o-ring. There was the tiniest amount of play in the mouthpiece as though the o-ring was acting as a fulcrum. I've had a similar feeling with worn out cork where the mouthpiece feels a little loose, so I decided to put another o-ring on to eliminate the possibility of wobble. I cut another groove, this time 13mm from the end of the cork, and put in another o-ring.

You can see that I have a lifetime supply of o-rings for a few dollars.
I'm not certain that cork lubricant will be necessary in the future. Wet silicon rubber seems to be just right for sliding the mouthpiece on and adjusting. I don't know if a mouthpiece were left on too long whether silicon rubber would grip to the shank, but I doubt it. If so and the o-ring were damaged, or if it should wear out, I obviously have plenty of spares for replacement. And rolling another o-ring on takes two seconds and costs 3 cents. In theory, this should be the end of neck cork replacement. Time will tell.

The o-rings I used for this tenor are 1/2" ID, 5/8" OD, 1/16" width. The smaller ones, which would probably work for an alto neck, are 7/16" ID, 9/16" OD, 1/16" width.
No comments:
Post a Comment