30's era Conn upside down. Click to enlarge.
This was a standard feature on horns of the era. In practice, it places quite a bit of pressure on a limited area of the thumb, depending on how you hold your horn. And how you hold your horn is probably the determinative factor in whether or not you are bothered by this style of thumb rest. If you play seated with the horn between your legs, then the horn is in an upright position and the full sectional area of the button might be used. In this position, a player could find this button style of thumb rest perfectly acceptable.
But if you play seated with the horn to the outside of your leg, or standing with the horn off center, you may find that the thumb pressure is on the edge of the button. That can become irritating after a while. I always play standing, if possible, with the bow of the horn either on one leg or to my right side. And I tend to not keep the horn at a constant angle. As such, the later Beaugnier flat style wasn't particularly comfortable. Here it is.
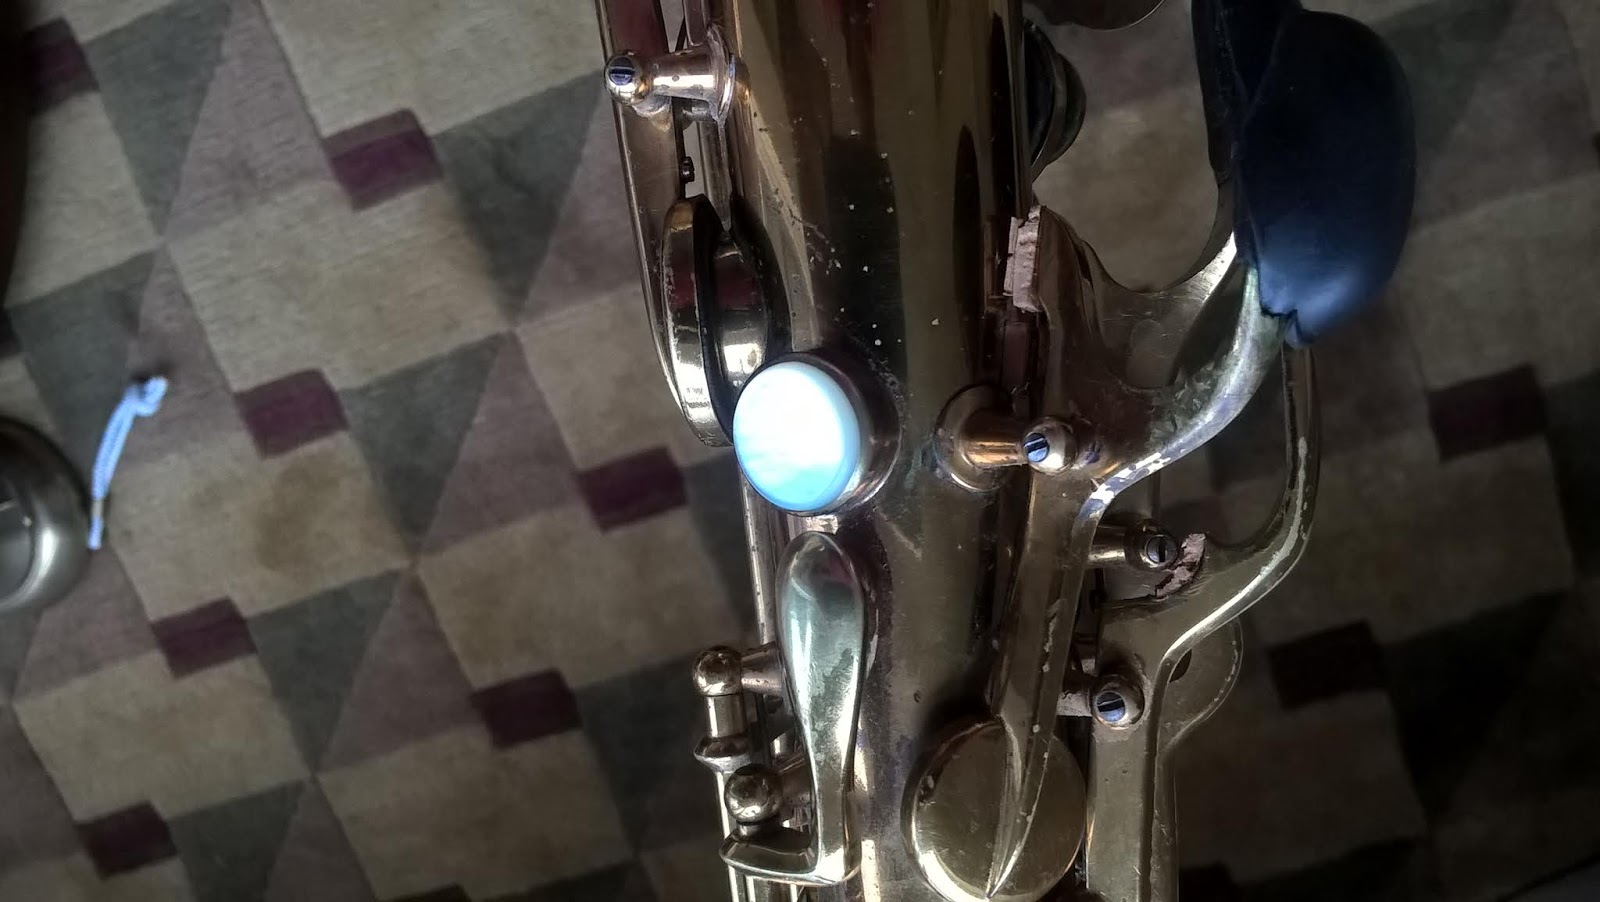
 Beaugnier/Vito tenor, again upside down. Plenty of surface area, but it felt like it was at the wrong angle and provided less surface area than one would think based on the shape.
  White plastic piece held in place with a tiny set screw.
 Thumb rest removed, showing what looks like the traditional thumb rest minus the pearl.
Below is a picture of my other vintage alto with the thumb button modified. I also found the original thumb rest uncomfortable, although the prior owner(s) had the same issue and didn't modify the rest. This is a 1957 Kohlert with a brass thumb button. You can see on the left side of the brass (where the shiny spot is) that the lacquer is worn off, showing that the "edge" of the button was the major point of contact over the decades. I added Sugru to that edge so that my thumb contact area was larger and wasn't concentrated on the uncomfortable edge.

Sugru works great for this purpose, and even for building key risers, but I was not sure that it would work well on the Beaugnier. I would have to stick it down inside the button cylinder, and I know from experience, if I didn't get it right or wanted to remove it should I sell the horn, it would be difficult to get out.
What I wanted was an ergonomic thumb button more like that on my old Martin tenor.

I looked around at the hardware store for something that I might modify, but ultimately came up with the idea of fashioning one out of moldable plastic. You can find videos and information about this stuff on the internet, so I won't go into much detail here. Basically, you melt the white beads under fairly low temperature (140F), which causes the beads to bind together into a single pliable gob of clear plastic that you can mold by hand.

There were only a couple of things to note on this project. The first is that as the plastic cools, it hardens. Since I was pushing the warm plastic up against brass, and the brass, even though at room temperature, would cause the plastic to become stiff faster than I could mold the shape that I wanted. The second issue was that, unlike Sugru, moldable plastic would not "stick" in place. It cools into a plastic that feels much like Delrin. I would need to mold a piece that used the original set screw to hold it in place. Neither of these issues proved to be a problem.
I used a hair dryer to get the surrounding area warm (not hot).

The picture above shows the moldable plastic starting to cool. It is still translucent and you can see the thumb cylinder over which I am putting the thumb rest.

I used a pencil to poke a hole in through the soft plastic for the set screw. The plastic has now cooled and turned white. It is now hard enough to accept the set screw.

Here is the final thumb rest. It is contoured to my thumb. It even includes my thumb print. Although not easy to see in the picture, it is raised on the right side and lowered on the left compared to the original flat plate. More comfortable and it gives me greater control of the sax if I move it around.
I overestimated the amount of beads that I needed for this project. It turned out that I melted down about 3 times too much. That's not a problem because the excess can be put back in the pouch and used for another project. Like with Sugru, once you use it, you will start looking around for other possible uses.
Thank you. Very inspiring. I have an older bariton with only a pearl knob that hurts the thumb when playing. I received the poly plastics and will start making my new thumb rest today.
ReplyDeleteThanks for this! I just bought a Vito alto with a cracked white plastic thumbrest. It broke completely off while I played it for the first time. I have some of that moldable plastic (I bought some to replace a metal mouthpiece tooth guard) so I'll give it a try. How it it holding up over time?
ReplyDelete