I was getting ready to attend a seminar in France and began wondering how I would transport my tenor saxophone and clothing for 10 days. I happened into my local Goodwill thrift store looking for an old hard sided suitcase. Something like the old Samsonite or American Tourister thick plastic suitcases that I had seen there in the past. It would require the next size larger than this suitcase. One with a corner-to-corner dimension of about 30 inches and a depth of at least 8 inches.
I figured that my tenor saxophone could be made to fit inside the case with room left over for some clothing. True, it would not be your standard saxophone flight case. It would be more of a special circumstance "checked baggage" dual purpose hard shell flight case.
My idea was to make a custom foam "cocoon" for the horn, place it in the suitcase, and have enough extra room for clothing. All of this had to be kept down to the airlines international checked baggage requirements for size (62 inches HxWxD) and just the right suitcase would make that possible. I knew that my local Goodwill would be the best place to find a cheap cadaver for my experiment. Goodwill had quite a selection.
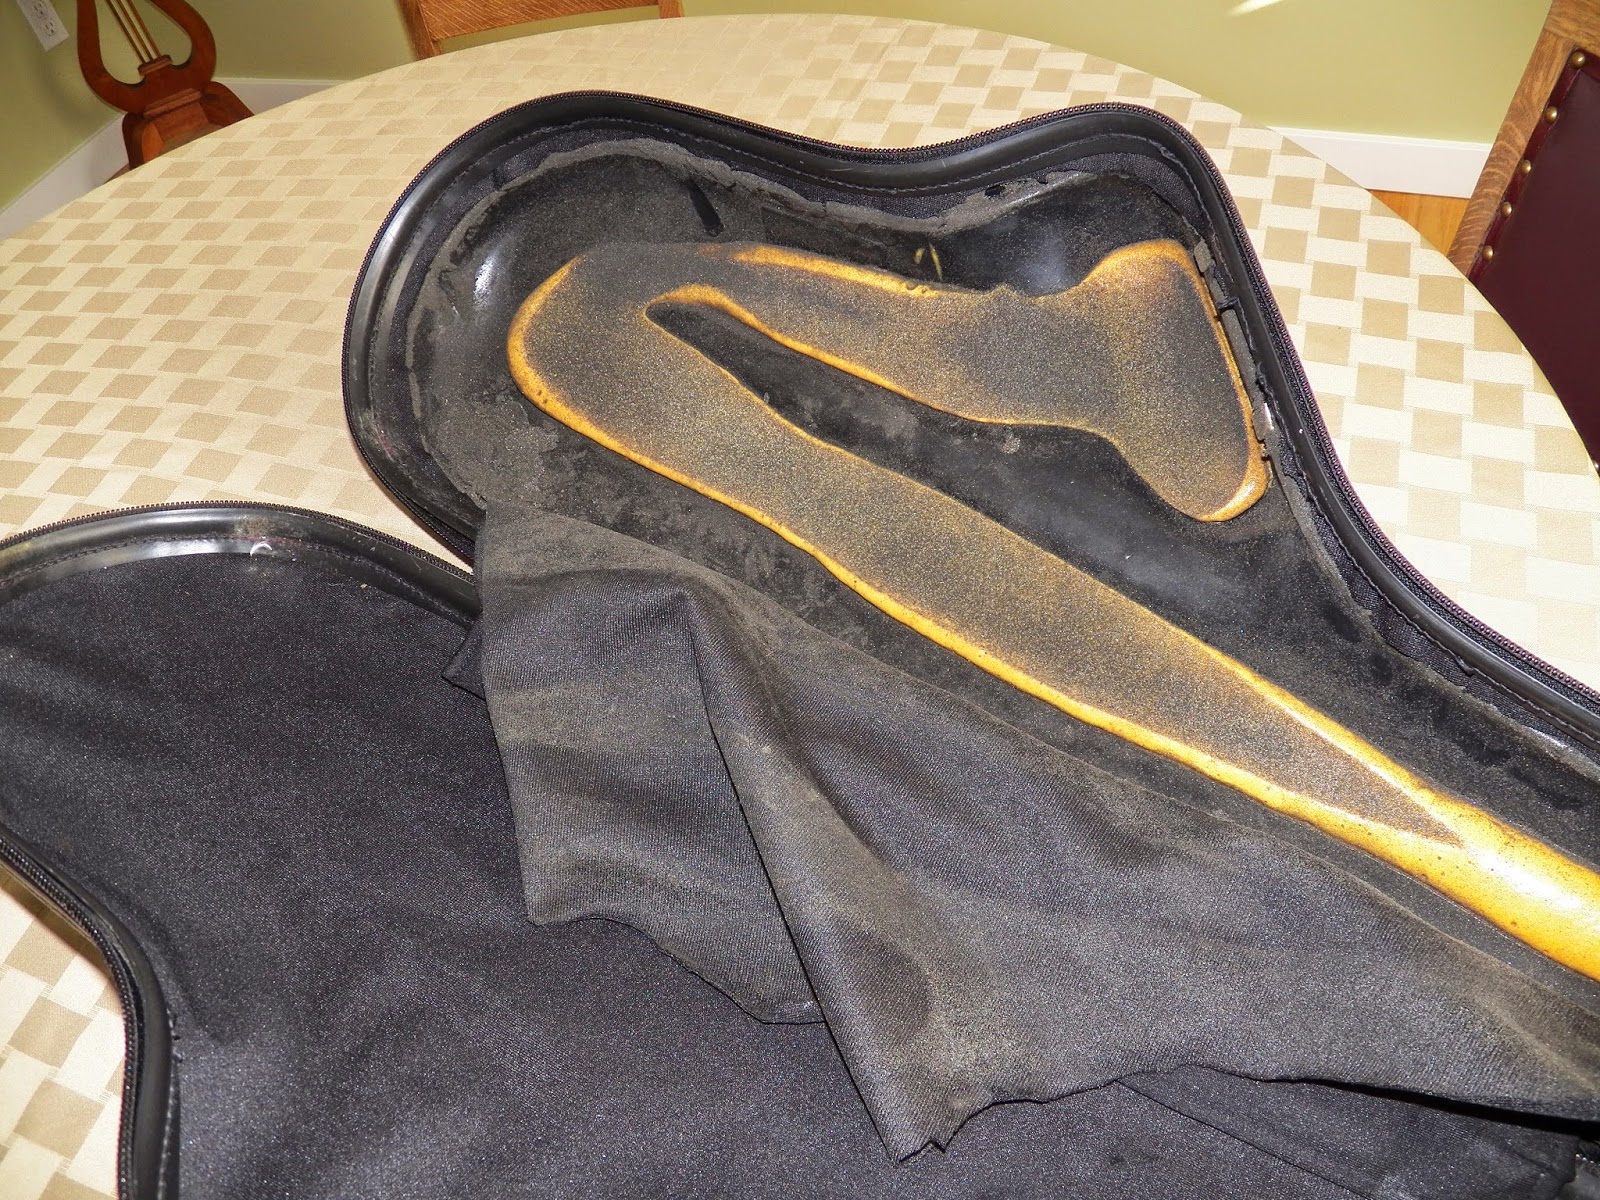
I was surprised to find among the suitcases a hard shell tenor saxophone case!!!. It wasn't one of those high-end hard case. In fact, it was a low-end super un-protective hard case.
I don't know what the brand name is, but these are fairly common. This one has a zipper around it instead of three or four latches, which I prefer, but other styles are available. New, they are about $100 (there were some Chinese-made fiberglass cases being sold on Ebay for less, but I couldn't find them when I wrote this). Because this one was used and at a thrift store, it was considerably cheaper.
When I took it to the cashier, I learned that because it was Tuesday(??), everything in the store was 20% off. So I paid $5.60. Not bad for my cadaver. I later found a picture of this case from back in the day. Check out the sax case on the cover of the Brecker Brothers Heavy Metal BeBop from 1978.
There are two reasons I called this case super un-protective. First, it is designed to fit an imaginary generic saxophone (and was probably designed by somebody who had never held a saxophone). That is very common with saxophone cases. They tend to consist of a "saxophone-shaped hole" in which to place a variety of saxophones. You can't really fault the manufacturers, as they are trying to meet a broad market. Left hand bell keys, right hand bell keys, split bell keys, wide bell, narrow bell, vintage, new, etc. "One case to fit them all!" Unfortunately, that doesn't work very well, and working well is the reason for getting a hard-sided flight case. If you look at the picture above, you can see that this design has a bulge for both left and right bell keys, but the bulge is not actually shaped to fit any bell key guards that I have ever seen.
The second reason that this one is super un-protective is that the "padding" was kind of a joke. There was a dribble of soft foam poured in and then covered by a foam-back cloth. The two types of foam seemed to be incompatible and had both begun to crumble.
As with many sax cases, it is easy to see where the pressure points are when the case has the common "saxophone-shaped hole." In this one, the material had worn through in a few places, generally at the rim of the bell, the thumb hook, the neck ring, and several other places, which indicates that the horn doesn't fit and moves around in the case, which means that it isn't really protected.
 The hole in the cloth is where the saxophone rubbed against it.
What a wear point tells you, with any case, is that should the case be dropped there would be a pressure point at that spot. If your case has a wear mark by the thumb hook, and you drop your case, guess where the most pressure is going to be applied? It doesn't matter if the case has three inches of foam in some other area if the thumb hook or bell rim area is worn through so that it's touching the hard case. I know this from having repaired bent thumb hooks and punched in body tubes damage that occurred when the case was dropped. Here's a blog on how to make a generic vintage case more protective.
So how do I make sure that my precious baby is properly swaddled in my new case? First, I tear out the old foam and cloth to get to the plastic shell, which is really the only thing of value on this old case (and also with many new cases). The shell material seems okay, not too rigid/brittle and not to soft. I know from other projects that spray or injected foam adds some strength to shells. Certainly more than glued in pieces of sheet foam, the more common padding material. Below is a picture of the shell cleaned out and ready to be modified to fit an actual saxophone.
I am making a case for my 1943 Martin Centennial tenor. It has left hand bell keys, a long, narrow bell, and a long distance from the bell brace to the bow, a distinctive bell key guard, as well as other non-generic tenor features. Although the Martin would fit in some of the expensive hard flight cases with generic saxophone-shaped holes, that's not good enough (and would cost me $300 more than my custom case).
The first thing that I did doesn't really relate to the custom interior. I added a strap so that the case can't open 180 degrees as in the photos above. I just didn't like the way it flopped open. The new strap stops it at about 90 degrees.
Now on to the custom interior. I mummified my saxophone in thin plastic film, like Saran Wrap, to make sure that I couldn't get any foam on it. I had to be careful how the wrapping was applied because the plastic film tended to smooth out the complex surface of the horn and that would result in something similar to the generic "saxophone-shaped hole" that I was trying to avoid. On the other hand, even though I was making a custom case to fit a 1943 Martin tenor, and only a 1943 Martin tenor, I didn't want the horn to become encased in foam so that removal would be difficult. So I wrapped the sax in plastic wrap and then stretched or cut the wrap in places where I wanted a really close fit (like around every key guard).

Above is my work area covered with plastic and the case masked so that I can minimize the foam getting on the zipper and causing problems. I got some on the zipper anyway and it is only a cosmetic problem that I haven't bothered to completely clean up yet. I decided to let the spilled foam wear off naturally. It makes the exterior of the case look a little ratty, but that may be an advantage. Give a thief the choice between a ratty case and a shiny new case and I think I know which will be stolen.
I used some scrap foam to ensure that the horn would be held at the right height when foamed in to place.
Here is a test positioning (prior to encasing the horn in plastic film) showing the foam stand offs. Notice that the neck has a plug in it, which is required to make sure that you'll have enough room, and only enough room, to have a neck plug in the horn when using the case. The "dry run" allows you to see what position will allow for maximum protection of a real live saxophone.
Here the horn, encased in plastic wrap, is also encased in the cloth material that will serve as the liner. A bed of foam is then laid down. I used Great Stuff "Window and Door" canned foam, about $6 per can at Home Depot. The project took two cans (because I foamed it twice). I used acetone to clean the applicator between foaming sessions so that I could use the one-time-only cans for several applications.
The horn is positioned in the uncured foam and any areas that aren't filled enough are touched up. The foam keeps rising after it leaves the can, so it takes less than it appears at first squirt. It also pushed the cloth up around keys, key guards, and between the bow and bell for maximum contact. Do not use the regular Great Foam. The expansion is too powerful and it continues to expand for about a week. It will likely blow open your case.
The excess foam is then trimmed off and the cloth is laid down over the edges and tucked in. A little shot of hot glue in a few places will keep it tucked in.
Here you can see the material that I used (faux snake skin) and something that I learned about foam. Foam can migrate through cloth a little bit. That's what the white blush on the material is.
It turned out that I didn't like the way the foam came through the material and the horn was positioned too high on that side of the case, meaning that it wasn't positioned evenly halfway in the case from top to bottom. I tore it out and started over.
For the next attempt, I used a black material commonly referred to as polar fleece. It's often used in instrument cases (as in this blog about relining a vintage case). It provides no padding (although it looks like it does) and is simply a covering for the custom foam. It provides a little abrasion protection when the horn slides around in a generic saxophone-shaped hole, but that won't be necessary with this case.
The other thing my first attempt taught me is that bonding the cloth to the foam during a single step is an unnecessary complication. Were I to do it over, I would wrap the horn in a sheet of polyester film (aka, visqueen) and foam it. Then use either spray adhesive or the hot glue gun to attach the fabric to the protective plastic that remains lining your custom indentation in the foam. The fabric lining doesn't (or shouldn't) get pulled on, so just "tacking" it in place after foaming would be sufficient.
As you might imagine, taking pictures while working with foam is a little complicated. That's why I'm missing the next step. Once the new cloth material was used on one side of the case, the other side needed to be foamed. I made foam stand offs again, shot foam in the case, laid down the material,* put the horn on top, closed the case, and held it shut with straps. Then I waited 8 hours to see what I had. There were a few places that need touching up with additional foam before the material could be tucked in around the edges.
*Were I to do it again, I would have just used the plastic film, as noted above. Using the cloth complicated things more than necessary.
The "custom fit" aspect of the case is interesting. Because of the way it was foamed, the areas around the horn, i.e., between the horn and the edge of the case, are not perfectly flat. That area is not always in the same plane as the zipper, as with sax cases that have a "generic saxophone-shaped hole." Some spots are high and some are low, but the opposite side of the case has corresponding highs and lows because it was later foamed to fit both the sax and the other side of the case, so the custom foam sides interlock.
Areas like the thumb hook have their own little custom indentation, with the foam and cloth lining then coming up against the body tube, or surrounding a key guard. The cloth I ended up using is quite slippery, which is good, because the horn has to be wiggled in and out of its position. Most notably is the bell, which has to be just right for the case to close.

Photos of black material are difficult, as I found in a prior blog about saxophone cases, but if you click on the picture, you can see that the entire bell is completely and evenly supported by the foam, including a little going inside the bell. The foam is form fitting halfway up the side of the bell on the left of the picture and comes up almost to the bell brace between the bell and the body. The other half of the case, when closed, does the same and the entire horn is essentially clamped into place with foam. Although the bell is only 3/4 of an inch away from the side, getting the horn to move that 3/4 of an inch would require a deformation of basically the entire horn (or the entire hard case),
which can happen under extreme conditions. Of course under extreme conditions, as noted in the video, not even a case would matter.
Other areas of the saxophone are likewise evenly supported by the custom foam.
You can see the imprint of the wire key guard, the bulging of the foam between the bell and the body tube, as well as the contours of the palm keys in the custom case.
You can see a "V" shaped indentation matching the Centennial's unique bell key guards opposite the bell key guards in the top two pictures. Every key guard fits in its own custom place. Even the keys and posts are supported. The idea is to spread any point loads as wide as possible. A generic saxophone-shaped hole can protect the horn once enough foam has collapsed at the point loads. I'm just looking to spread the point loads and eliminate excess and ineffective foam.
The downside is that this case fits only a 1942-43 Martin Centennial tenor, but that's okay. I don't intend to keep it when I sell the horn, as I might with a hard shell case that has a generic saxophone-shaped hole. The form-fitting nature of the case requires that the neck
and the mouthpiece and the neck strap be put down the bell. That's not a problem since I had enough extra lining material to make some padded bags. I've also gotten used to this method with
some of my other cases and have never had a problem. Plus, I tend to take an over-the-shoulder bag for music, stand, etc., so I have room elsewhere and I can keep the size of the sax case to a minimum.

My custom hard case weighs 4 pounds 4 ounces (1.9 kg), 11.5 pounds with the horn, mouthpiece, and neck strap (5.2 kg). Most people would think that it is an alto hard case because it is a lot smaller than generic hard-sided tenor flight cases and considerably smaller than stuff that I see people lugging on to a flight as carry-on baggage. I shouldn't have any problem using this as carry-on, allowing me to just use a regular checked suitcase for my clothing. I won't be able to test that for a couple of months. But I can test other aspects of my new case.
So, how protective is it? Only one way to find out.
When I first play tested the horn, I thought that I had ruined my Martin. It sounded just like a Selmer. But then I remembered that I had put a spare mouthpiece down the bell. Once I removed the obstruction, it sounded perfect again.
Update: I have had no trouble taking this as carry-on luggage on several local and international flights. I was told at one point that I could take it aboard because it was an alto. Who am I to disagree? I also feel better taking this to the airport because, if I do have to check it, I know it won't be bouncing around inside of a generic case.


 Don't wear shoes like these when using an adze! Steel toed boots, keep your toes up, and remember that the adze is the only hand tool that scares the devil.


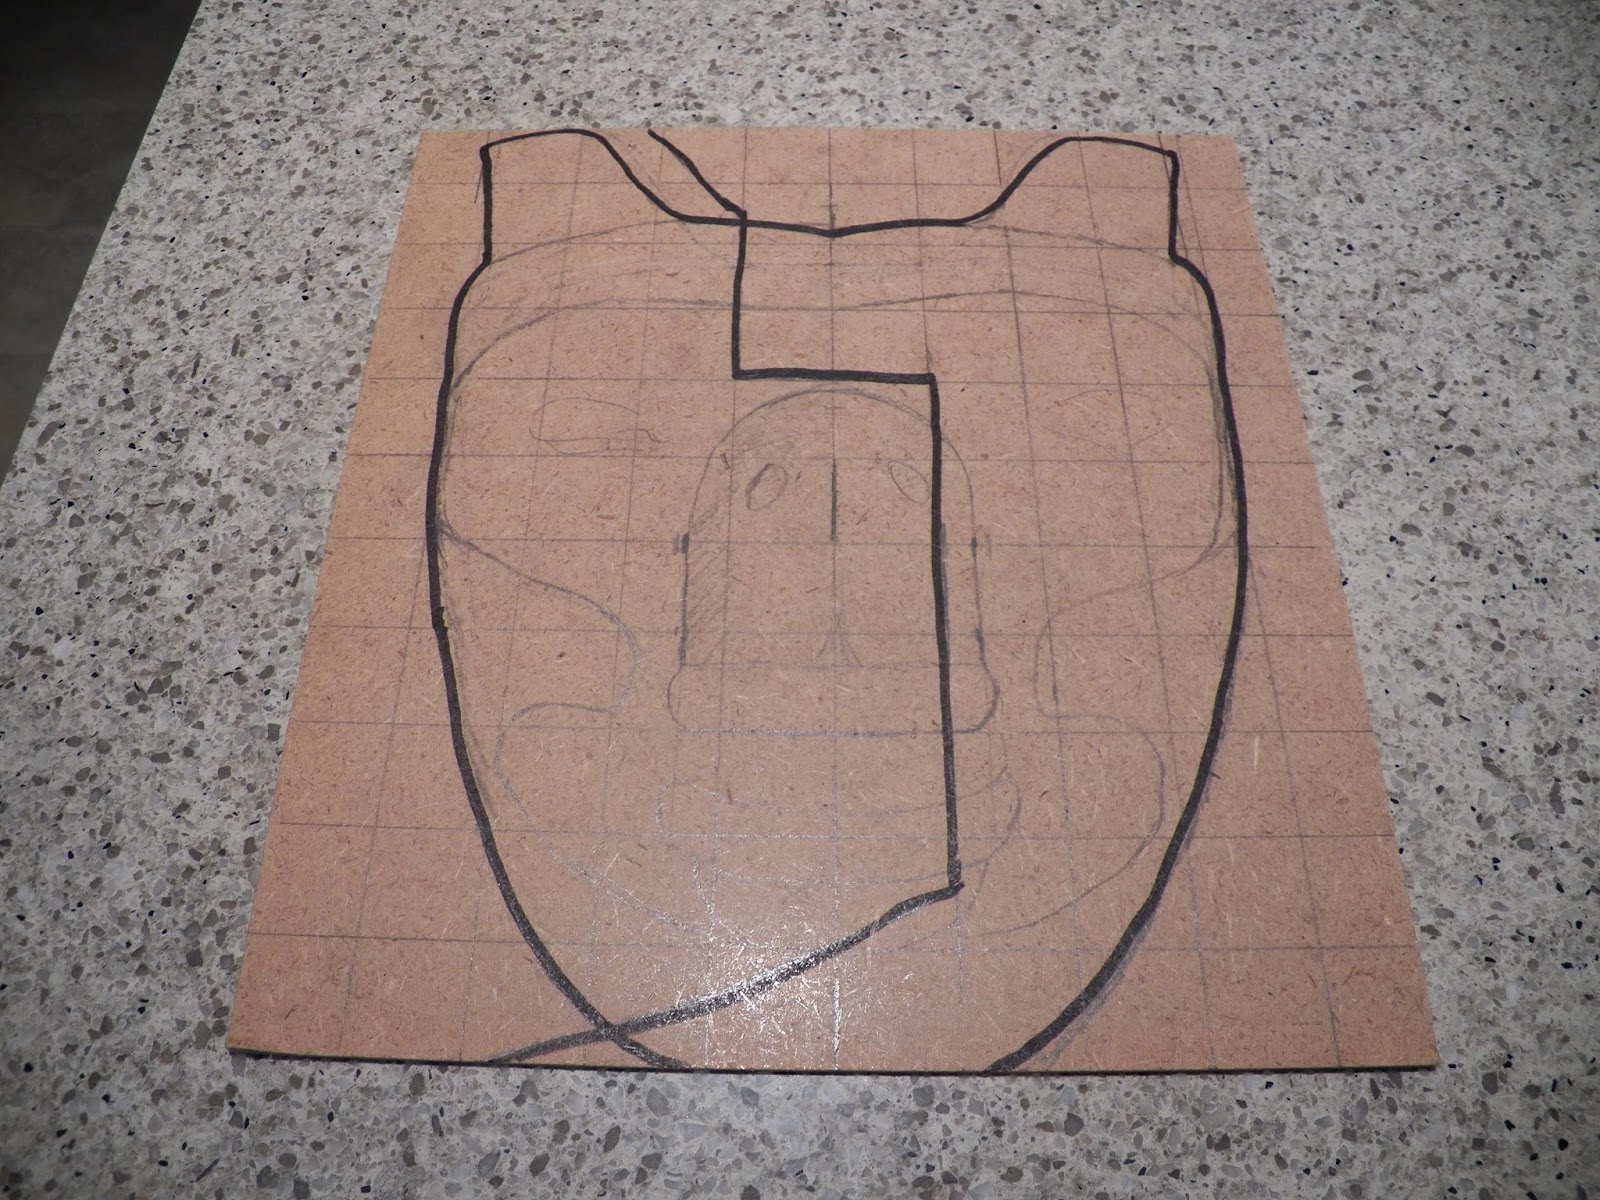


 The loon is Kumug'wi's messenger from the surface of the ocean. It informs Kumug'wi of vessels passing on the surface and he then decides whether to keep the surface calm.