Unfolded in front of the seat boxes on the flying bridge.
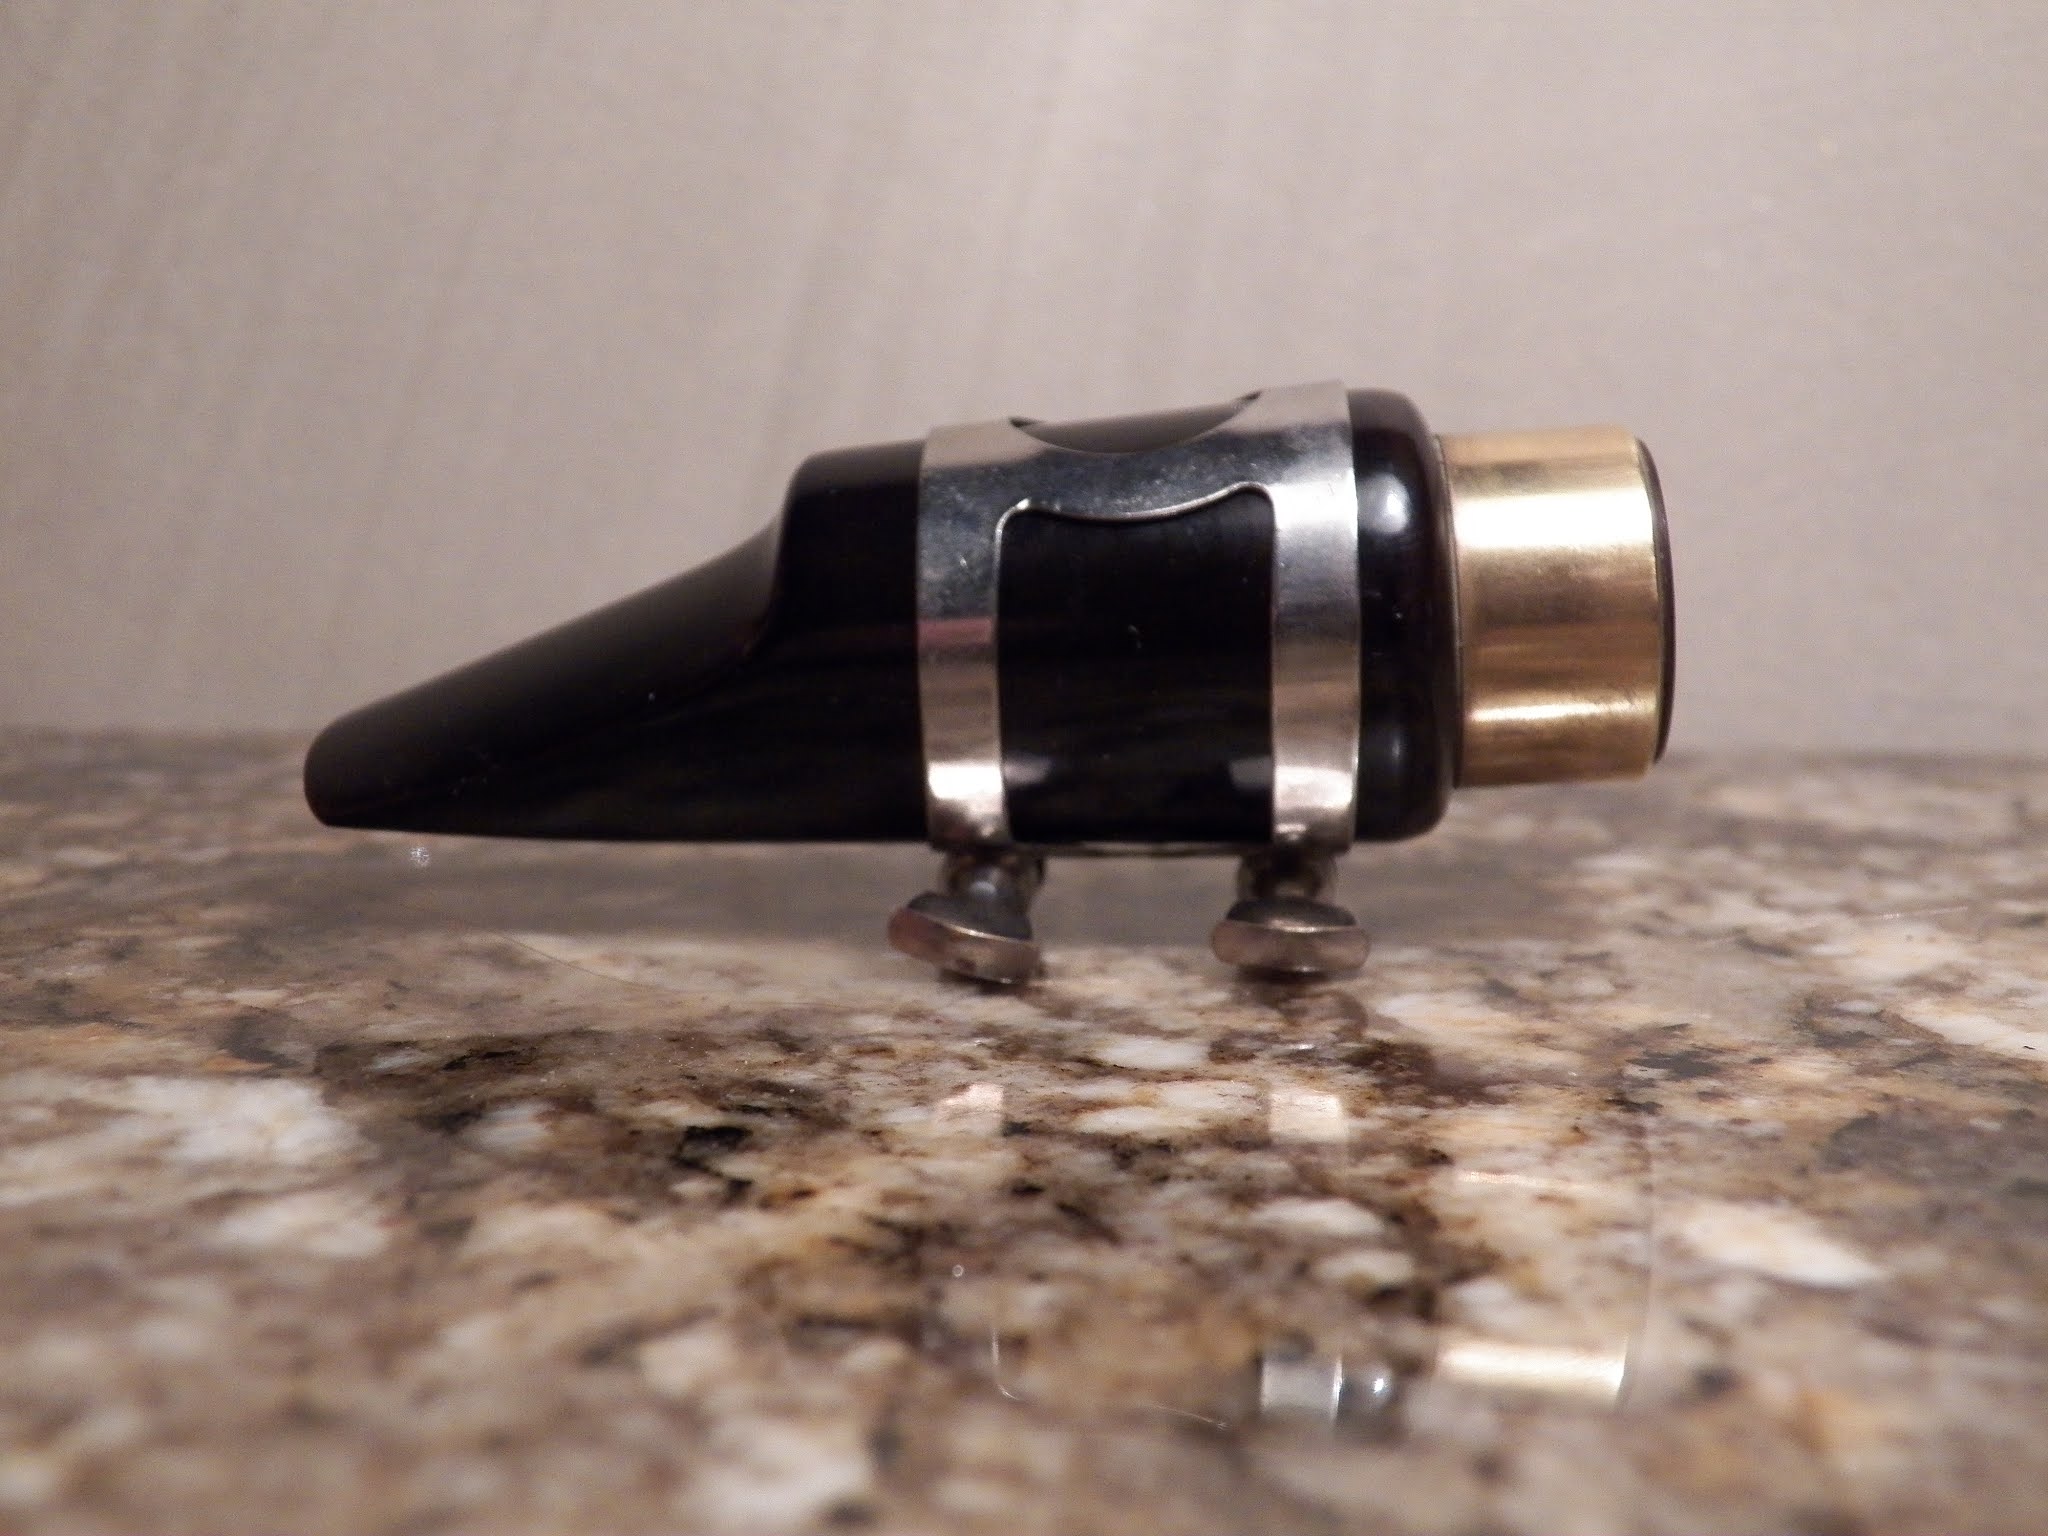
It was intended for use as a "water diversion tube" and cost $34, including shipping. When full, it is supposed to be a 12" tube that is 12' long. Laying partially filled on the deck, it is about 20 inches wide. The problem is that the construction material is about the same as a child's inflatable pool. It leaked right from the start and I had to take it home to patch it. While not a long-term solution for an ARB, it was valuable for experimenting.
Because it is several feet longer than my home-made bag (ARB ver. 1.0), I was curious if the water would, when passing side-to-side, inflate the excess tube at each end. By "inflate," I don't mean with air. All of the air has been bled out. But the extra length would allow a more effective total transfer of the water and possibly a slight slowing of the release when the boat rocked back, as was discussed in ARB ver. 1. At the end of ARB ver. 1 is a video that shows the effect of a flat seam at the both ends of that bag. That restricts the amount and timing of the water. The amount and timing of the water back and forth is the key to maximizing effect, i.e., comfort.
I partially filled the tube with about 3 inches of water. It can't be filled much more than that and work properly. At minimal rolls, the bag needs to be loose enough to take advantage of the "free surface" effect, although it is not quite "free" here. There also needs to be enough "head space" in the tube to allow all of the water to transfer to the ends during a larger roll. The tube could likely hold 70 gallons in theory (590 pounds). I don't need or want that much shifting weight.
I put approximately 20 gallons (180 pounds) of water in the bag, which limits both the amount of roll attenuation and any possible deleterious effect to vessel stability. The bag has the effective nature of a 180# person running back and forth on your flying bridge. Some have expressed concern that this would collapse their flying bridge or overturn their boat. The solution? Do not board any vessel for which this would be a possible problem!!
Actually, I've found that the biggest problem with any roll reduction system is testing it, i.e., getting real numbers. People who have added some type of roll attenuation systems (sometimes erroneously called "stability systems") are often pleased, despite having spent upwards of $40,000. Yes, they report that their vessel is more comfortable. Okay, but the question arises, at least for me, how much of that improvement is because of roll reduction and how much is confirmation bias after having dropped a pile of money? What empirical testing was done before the modification? Without that, and further testing after modification, how would one know whether simply filling the galley lockers with canned goods would have accomplished a similar roll reduction? Or 500 pounds ($1,200) of lead in the bilge? Or just spend the money to buy a lifetime supply of Dramamine for $40 (also available for dogs) and forget about your boat rocking?
What is needed is both a way to actually measure the roll reduction (if any) and then quantifying the effectiveness of a roll reduction system (maybe as dollars per degree of roll reduction??).1 I'm not sure if there would be any agreement on the latter, although it seems like common sense to examine the cost/benefit issue. If $40K stabilizer fins reduce a roll by 90% and $200 reduces the roll by 50%, which is the better system? It could be that some will pay any price for the same feeling of stability as their "dirt home," i.e., they will pay any amount to have a "dirt boat." Solid as a rock (which in a boat usually means you are hard aground.) Seriously, I don't know if actual numbers comparing cost with effectiveness will change any opinions and would only cause arguments. It seems that roll reduction has something in common with politics.
To further complicate things, roll reduction consists of two measurements, amplitude and acceleration. A 10 degree roll can seem fairly minimal if the "snap back" is slowed down because of an increased roll period. And it will depend on each individual's "sea legs." ("Step right up and get your sea legs: $40,000 for a pair!") But how does one test a system to get an accurate before and after picture? One traditional way is to pre-guesstimate by doing complex calculations when the vessel is designed. The other is to hire a naval architect after the fact and hope for the best. As noted by the naval architect in the prior blog (ARB ver. 2.0), a naval architect can be expensive and still get the estimate all wrong.
I think that what might be better for most recreational boaters is an old-school "tank test." I'll just put my boat in a giant tank, generate a big wave of known repeatable amplitude, and see how the hull reacts given different adjustments to a roll reduction system. Fortunately, I happen to have a huge tank and a giant wave generator available to me. The Washington State ferry Walla Walla runs close by my marina several times a day. At a length of 440' and a beam of 81', travelling at its standard 17.5 knots, the Walla Walla generates quite a wave. It runs in a charted ferry lane in the calm Port Orchard Canal and its course, speed, and distance from me show up when I monitor its AIS broadcast. That can be my tank with a wave generator producing a standard amplitude wake which I can monitor.
As it turns out, the smaller Kitsap County "fast foot ferry," a catamaran running between Seattle and Bremerton, puts out a nastier wake for my boat when I'm running in the same direction. These catamarans were designed to be "low wake" ferries (really?), but that is the wave generator I used for most of my experiments. The sacrifices I make in the name of science.
Running my boat on repeated parallel courses at a standard speed gives me the required benchmark to accurately determine the effectiveness of changes to my ARB roll reduction system (or anybody's system, for that matter). I can get the ferry SOG and COG from AIS. For instance, when the ferry is running in the channel at its normal 271 degrees true at 17.5 knots (30 knots for the fast foot ferry), I can run parallel at 271 degrees, 5 knots, and exactly 300 yards away. Having had the ferry pass me many times in the past, I know that within a minute or two this will give any roll reduction system a good workout. And because of the ferry schedule, I can repeat the exact thing more than 12 times a day if I choose, or a couple times a day for a week, or try it again next month with a different system.
It turns out that having the ferries approach from behind gives me the greater rolling. If I'm going in the opposite direction, I would effectively be crossing the wake at a large angle. When the ferry (or any large wake making vessel) sneaks up behind me, that is when I encounter a generated wave that most closely harmonizes with my boat's natural roll period (approximately 3.55 seconds). At one point, I was lucky enough to get both the big Washington ferry and the little Kitsap ferry wakes at the same time. I recorded a 12.5 degree roll (without the ARB). We call those a "bell ringer" because my boat rocks enough to ring our bell. I'm not going to do that on purpose again. Although for big rolls, check out my post on Anti-Roll Bag ver. 2.2.
To measure the effectiveness, if any, of my roll reduction system, I use my inclinometer phone application. I needed a standard roll test without any roll reduction system in operation to see just how much my boat rocks from that wake. My experience has been that a 10 degree roll from the ferry wake is "normal." Note that a 10 degree roll measured accurately with an inclinometer is what most boaters claim to be a 20 degree roll. If one is not looking at an inclinometer, it just isn't possible to claim accuracy and, of course, the guess is always extremely high. I introduce my inclinometer in Anti-Roll Bag ver. 2.2.
I also have an accelerometer phone app. I have found that the "sensation" of a gentler roll is more easily felt than trying to analyze the sine wave recordings on the phone. The resolution just isn't sufficient to really see what's going on. Measurements to date indicate that the ARB has a significant effect on roll degree and, therefore, acceleration. And what appears to be the biggest benefit is the reduction in a synchronous roll. It's that old feeling, especially with a wake, where it starts small with back, Forth, BACK, FORTH . . . and then you know what's coming. With the ARB (as likely with other systems), there is much less tendency to build. Therefore, it is less likely that "the big one" will ever come.
The few detailed studies that I have found on anti-roll tanks (which have field-tested measurements) show that there tends to be certain amplitudes that are really reduced. It sort of makes sense being that we are essentially "tuning" to offset frequencies and neither my roll period or the water transfer in the ARB remains exactly the same for different amplitudes. The studies showed that, for instance, a tank may have sort of a "standard reduction" of 40%, but at several certain rolls the reduction can be 60%. So the sine wave reduction pattern is not likely to be mathematically perfect. Kind of odd to think about, but one ends up with a 50% reduction overall. All of the studies I have read were primarily concerned with reductions in amplitude with little addressed as to acceleration. It might be more complex to examine what an ARB does (and where it does it) to the vessel's roll acceleration.
With accurate measurements using my Washington State Ferry "tank and wave generator" and the accurate monitoring of my vessel's speed, direction, and distance off, I can generate accurate and quantifiable roll results, something which I have never heard any recreational boater mention when talking about their new "stability system."
For the first numbers, I was surprised. I had rolled my boat at the marina and timed 10 complete rolls. It is actually quite complicated to do this without the boat sooner or later tugging on a mooring line. But I got some clean "rocks" and came up with the 3.55 seconds per period. Those tests usually started by building to a 7 degree roll, then I let go and measured. With the ARB filled up, I had a very difficult time getting the boat to rock 6 degrees. I was winded by that time and just let go and recorded the rocking. Unfortunately, the rocking died down so that I couldn't get an accurate 10 rolls. And what I did get surprised me. The roll period averaged to 3.45 seconds. That's not much of a change, but it is a faster roll period! Just the opposite of what I was hoping to accomplish!
But the benefit of the ARB can definitely be felt on board, so what's happening? It appears that a reduction in roll angle/acceleration is more "sea kindly" than a reduction in roll period. And one way to reduce acceleration is to reduce the arc, i.e., the distance traveled in a given period of time. Getting the boat to rock was more difficult with the ARB filled, and the ability to stay rocking was greatly reduced, so much so that the additional 1/10 of one second in the roll period was immaterial.
Y
X
Above is a typical damping sequence. The X and Y axis are not indexed, but we can see what's going on. We will call the first roll (X1) a "1," and that's basically the max we can get at the dock. The boat then flops back to the other side to about an .8 (X2), then back to .6, back to .5, back to .4, etc. Not much damping going on and, looking at the entire graph, we could probably measure out to 10 complete rolls. We then divide the time by 10 and get our seconds per roll measurement. For my boat, that averaged 3.55 seconds.

Here is another damped cosine graph with greater damping. The first roll at X1 is a 1 again. The second roll, X2, is only a .6, followed by X3 (a .36), then .24, .18, .11 and basically gone. We can't measure a sequence of 10 rolls here and it's unlikely we could rock the boat enough. Maybe 5 complete rolls is all we can get. When the time is divided by 5, my boat averaged 3.44 seconds with the ARB filled (increased damping). That is a 10th of a second faster. But ultimately much more comfortable.
I think that some of the improved comfort when field testing was because of the "other side" of the graph that isn't taken into consideration here. How does a boat generally get to a roll of "1"? It is usually because of synchronous rolling. Basically, what I was trying to do by running parallel to a ferry wake. A graph for the building of a roll would look similar to a reflection of the above graphs because the same amount of damping effect would take place at the start of a synchronous roll sequence as well. First port, then further to starboard, then even further back to port. We've all felt that.
But look at the difference increased damping would make in graph #2. The first beginning roll would be choked more by the increased damping, making it unlikely that we ever get to a "1" based on the same wake height and frequency. We would begin with a smaller roll because the boat is rocking less, a synchronous roll would then not build as fast (therefore as great), and the rolling stops sooner. What more could we ask for for a $34 roll attenuation system?
Which brings me back to my $34 ARB. It worked, but it leaked. Bad. I took it home and patched 4 leaks and still didn't get them all. So I went with a slightly different system. To be continued at Anti-Roll Bag ver. 2.2.
1 Naval architects are very fond of abbreviations and acronyms for various formulas. LOA for length overall, S/L for speed/length, etc. I propose a new one for roll reduction systems (aka stabilization): Dollars per degree damping (abbreviated $/°d). Capt. Beebe, in his book Voyaging Under Power, recommends that an ocean cruising powerboat should have both active fins (+$50K) and paravanes (+$20K). But wait, there's more. Operating both systems will increase fuel consumption and neither will be very effective at anchor. I'll leave it up to the NAs to figure out how to calculate the actual ongoing $/°d of a +$70K stabilization system. For that kind of money, the system better also keep my boat washed and my beer cold.